reMarkable OneNote Integration
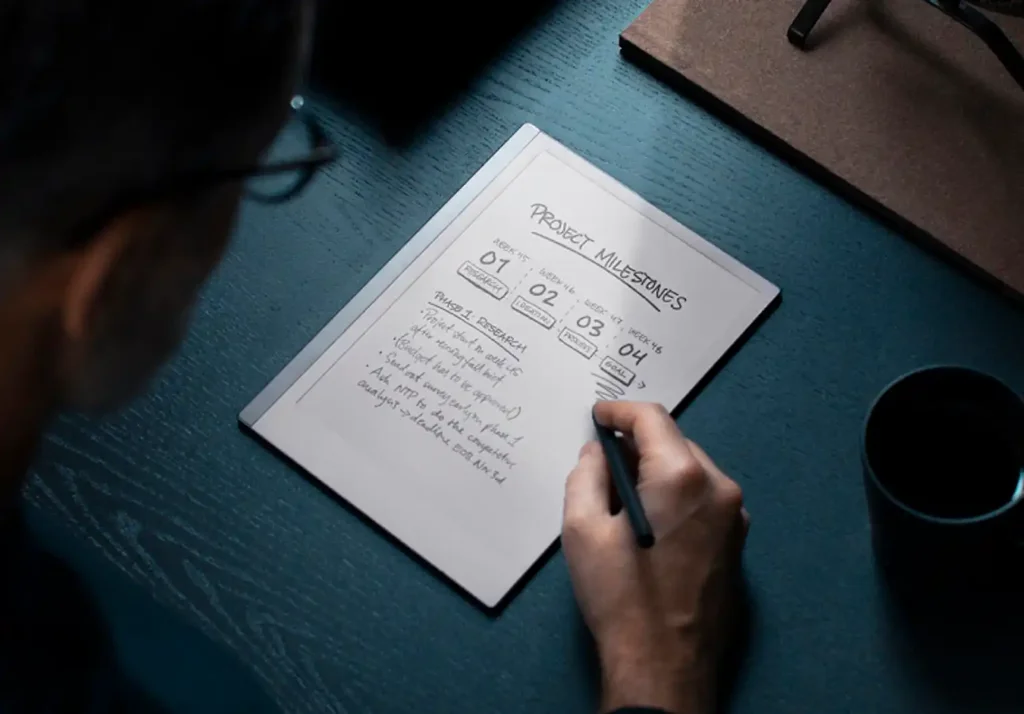
OneNote and Remarkable 2 are both powerful tools for collecting and organizing your thoughts, documents, and creative ideas. While Remarkable 2 is excellent for handwritten notes and sketches, OneNote offers additional features and versatility.
If you’re wondering how to integrate Remarkable 2 with OneNote seamlessly, you’re not alone. In this article, we’ll explore two simple methods to achieve this integration, allowing you to make the most of both platforms.
Why Integrate Remarkable 2 with OneNote?
Before we dive into the integration methods, let’s briefly discuss why you might want to combine Remarkable 2 with OneNote:
- Remarkable 2 excels at creative drawing and handwritten notes, but you might need the additional features and functionality of OneNote for further editing and organization.
- OneNote offers a broader range of tools for managing your notes, making it an ideal platform for keeping all your thoughts and clippings in one place.
Method 1: Remarkable 2 to OneNote using iPhone
This method allows you to directly send documents and sketches from your Remarkable 2 to your OneNote account using your iPhone. Here’s how to do it:
- Make sure you have the Remarkable app installed on your iPhone and the OneNote app linked to your Microsoft Outlook or Office 365 account.
- Open the Remarkable app and navigate to the document or sketch you want to send to OneNote.
- Hold down on the document and select the “Share” option.
- Choose “OneNote” as the destination and select the location in OneNote where you want to store the document.
- Once you confirm the selection, the document will be sent to your OneNote account, accessible across all your devices.
Method 2: Forwarding Emails to OneNote using Outlook
This method involves using Outlook to forward emails containing your Remarkable 2 documents to your OneNote account. Here’s how to set it up:
- Ensure you have an Outlook Live account or an Office 365 account connected to your OneNote notebook.
- Access your OneNote account and create a section where you want to store forwarded documents.
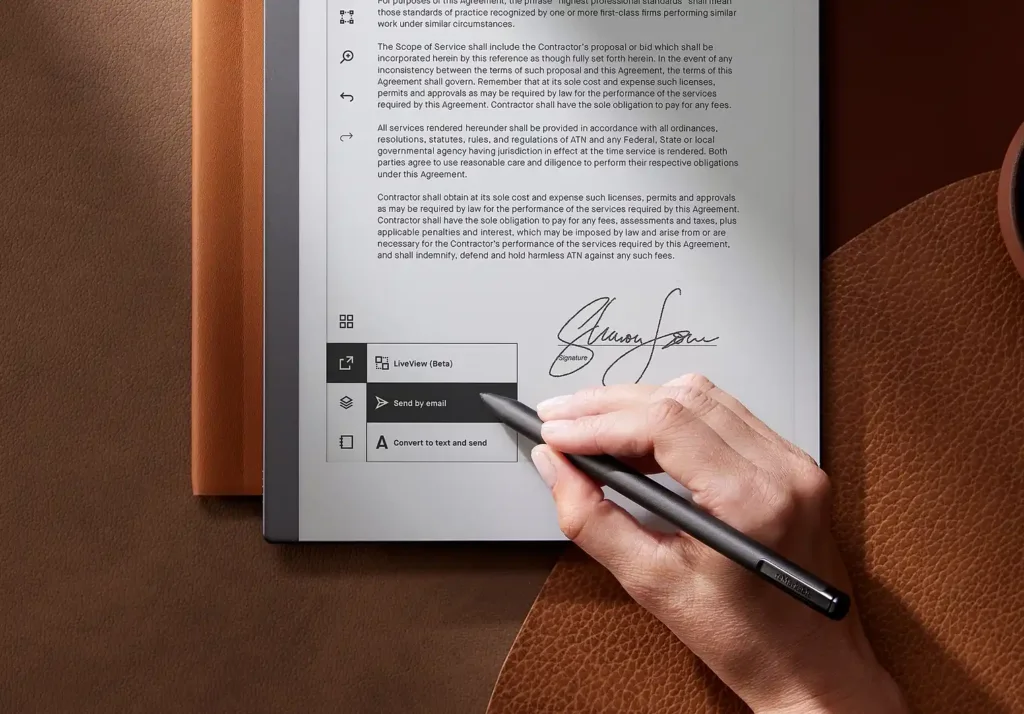
- Set up your Outlook account to enable autoforwarding to OneNote. This way, when you email a document from your Remarkable 2, it will be automatically sent to your chosen section in OneNote.
- Now, whenever you want to transfer a document from Remarkable 2 to OneNote, simply forward the document as an email to your Outlook account. It will automatically appear in your designated section in OneNote.
Related: Check Out these Free reMarkable 2 Templates
Auto Forwarding with Outlook for reMarkable 2
Auto forwarding will help streamline the overall process of getting you note in location. Follow the steps below:
- Open your Outlook client (e.g., Outlook 2013 or newer).
- Set up your email account and log in to the email server.
- Once your email account is set up, click on “File” and select “Manage Rules & Alerts.”
- In the “Rules and Alerts” window, click on “New Rule.”
- Choose “Apply rule on messages I receive” and click “Next.”
- Select conditions for the rule. You can set it to apply to emails from the Remarkable tablet.
- Click “Next” and choose the action “forward it to people or public group.”
- In the “Rule Address” window, enter “me@onenote.com” as the recipient and click “Add.”
- Click “Next,” then specify any exceptions (if required), and click “Next” again.
- Name the rule, e.g., “Auto Forward Remarkable Content,” and click “Finish” to save the rule.
reMarkable 2 OneNote Addin Github
If you are into more technical things and go a step further. Then there is a whole community on Github that helps you overcome the device shortcoming by tweaking with it. Here is a link to reMarkable 2 Onenote Addin that can help you streamline the process
Conclusion
Integrating Remarkable 2 with OneNote opens up a world of possibilities for managing and expanding your creative ideas and notes. By using either of the two methods described in this article, you can seamlessly bridge the gap between these two powerful platforms. Choose the method that suits your preferences and needs, and enjoy the benefits of having all your valuable content in one centralized location. Happy note-taking and creating!
Liked This? Find out more about reMarkable!
Using MS Office on reMarkable 2
Optimize reading PDFs on reMarkable


